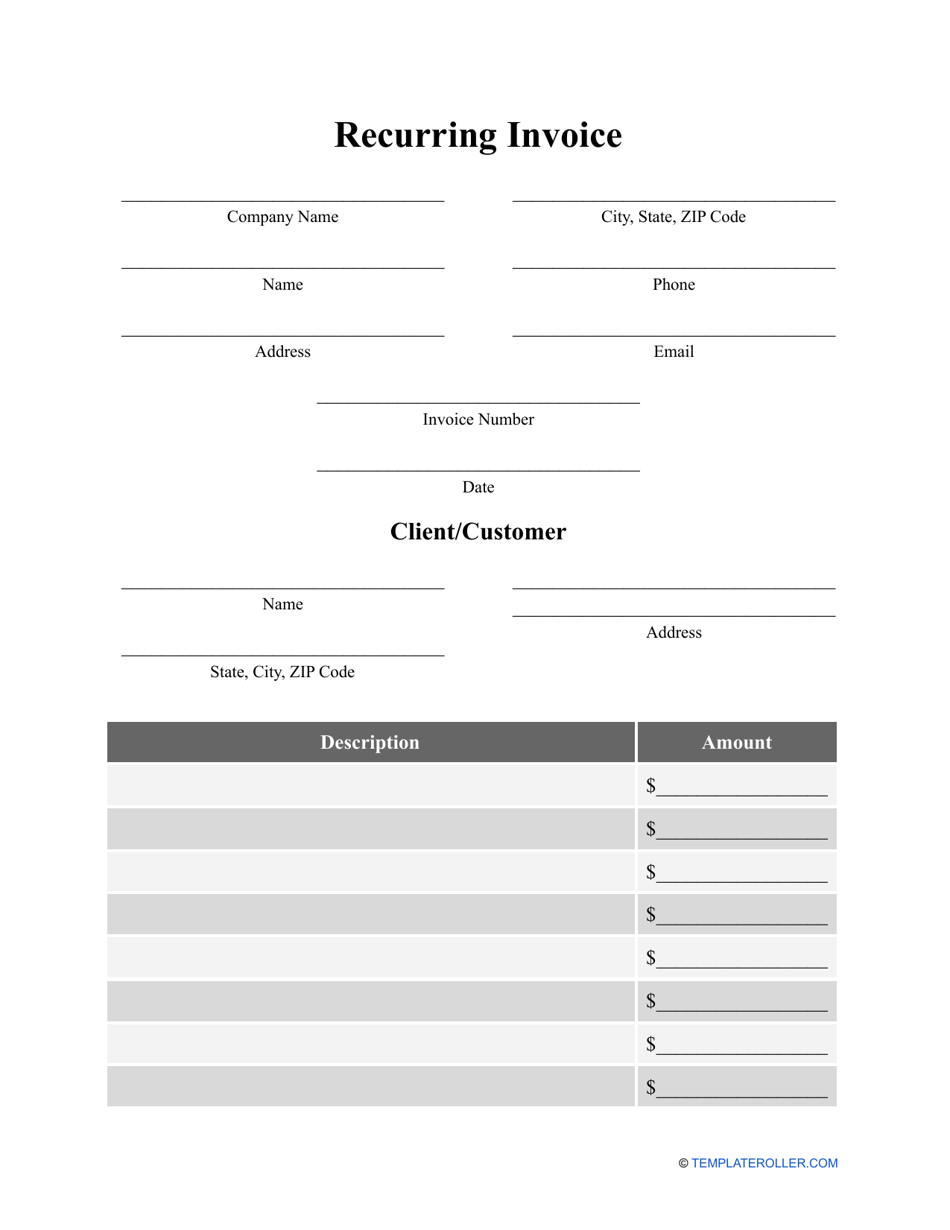
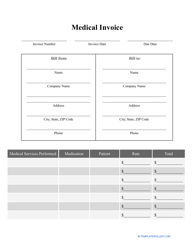
Recurring Invoice Template

What Is a Recurring Invoice?
A Recurring Invoice is issued when the same invoice is sent to the same client on a regular basis. In instances like this, it would be more productive to set up Recurring Invoices using Recurring Invoice Software. This will ensure automated invoices issued will be sent out to the client without any issues.
By setting up a Recurring Invoice, it ensures consistency. There will be no need to plan a timetable or find the time to write up and send over the invoices. It gives you more opportunity to devote your time to other areas of the business without worrying about invoicing clients. Recurring Invoice Software can take care of this for you and provide you with options to edit or stop invoicing. For example, this can be useful in situations when a regular client has gone on vacation or if the cost of your product or service needs to be modified.
A Recurring Invoice template can be downloaded by clicking the link below.
How to Make a Recurring Invoice in Quickbooks?
A Recurring Invoice in Quickbooks will save you a considerable amount of time. In Quickbooks:
- Select 'New' on the top left-hand side.
- A small menu will pop up. Under "Customers" you need to select "Invoice."
- A new page will open up. Directly to the "Invoice Date" box, you will see a link "Create recurring invoice." Click this link and a new page will open.
- The first thing you need to do is name your invoice under 'Template name'.
- From the drop-down menu, select "Scheduled." This will generate invoices automatically. If you want to prepare partial invoices and save only some of the information with the option to edit it later, you can select "Unscheduled." You can also select "Reminder" to be reminded to make an invoice.
- You can select the number of days that the invoice will be prepared in advance. This will give you the opportunity to check it before it is sent.
- You can also tick the option to send emails automatically and include any unbilled charges.
- Under the "Interval" dropdown menu, you can select how often the invoice should be sent out.
- A start and end date can also be included, if applicable.
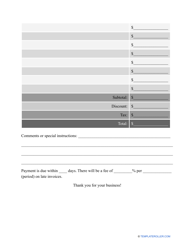
- Below this, you can fill out the remaining information including billing address, shipping details, services, rates, and totals.
And there you have it! A successfully completed Quickbooks Recurring Invoice.
How to Set up a Recurring Invoice on PayPal?
In order to set up a PayPal Recurring Invoice:
- Once in your PayPal account, click on "Merchant Services."
- When the page has loaded, click on the "Add to Cart Button." Then select "Products."
- In the dropdown menu, select "Subscriptions and Recurring Billing" and add a name for your product. You can also add a subscription ID number if this is relevant.
- You then have the option to customize the button by adding a dropdown menu without prices, text fields, or even the appearance by making the button smaller, for example.
- There are a number of other elements that you can change. The key thing to fill in is the recurring amount, ensuring the currency is correctly specified. You can then select the billing cycle and state after how many cycles you would like the billing to stop.
- Decide whether or not you would like repeat billing if a transaction failed. If you would like to offer customers a trial, you can opt to do so by ticking the box.
- Create the button and copy the code for use.
Related Topics:
Download Recurring Invoice Template

1
2