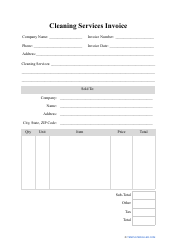
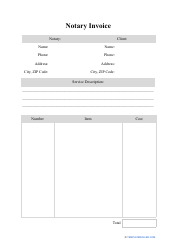
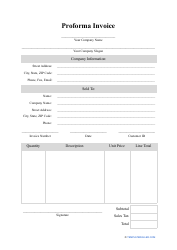
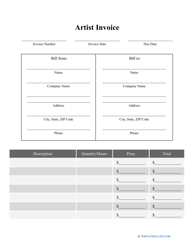
How to Create an Invoice in Quickbooks: Free Quickbooks Invoice Template

If you are looking for accounting software that will allow your business to draft invoices and keep track of all the payments your customers owe you, you can use Quickbooks - popular among small businesses and large corporations, this program will save your time and money whenever you are composing and sending an invoice to your client base. This way, you will always know which invoices are overdue and maintain a filing system useful not only for internal monitoring but also for tax purposes.
How to Make an Invoice in Quickbooks?
Still not sure what to do? Follow these steps to draft a Quickbooks Invoice:
- Open the main menu and choose Invoicing, then click "Send your first invoice.”
- Enter the name of the customer if this is the first transaction related to their name or choose a client from a drop-down menu.
- List the terms of payment - a credit card or a bank transfer, the billing address, and the payment deadline.
- Describe the goods and services the client has ordered.
- Indicate the contact information of the recipient.
- Preview the invoice - if you checked the document and found no errors, you can print it out right away. Once you are done, click "Close.”
- To modify the saved version of the invoice, you may click "Customize" - it is possible to write a Quickbooks Recurring Invoice to send the same document to the customer every week or month, insert your logo, or add an option of online payment.
While Quickbooks does not charge a monthly subscription fee from their users, invoices paid online cost 2,9% + 25 cents for every transaction; if you are handling a bank transfer, Quickbooks Invoice fees will amount to $1,50 per one document.
How to Edit an Invoice Template in Quickbooks?
Whether you are using one of the ready-made templates or filling out a Quickbooks Custom Invoice, you may need to modify the document you have already included in the company records. In most cases, you will have to review and change the invoice before you send it to the customer; however, it is also possible to edit the paid invoice and use it as a reference for a Quickbooks Invoice template you will later customize for every client.
To edit any Quickbooks Invoice, you have to open the Invoices tab, find the field "Mark as paid", click on it and choose the "Edit" option in the drop-down menu. Once the invoice is opened and prepared to be modified, click on "Edit work info,” change any details you need to change, and click Save. Note that the software will remember your choices and main settings will adjust accordingly: for instance, if during the editing you specified an option of flexible payments creating a Quickbooks Progress Invoice, the program will keep using this payment schedule for other documents and invoices, so make sure you return to default configurations before making another invoice.
How to Unvoid an Invoice in Quickbooks?
Quickbooks users can stop any payment from being processed by voiding an invoice - if you prefer to cancel an invoice or a payment but keep the record of the invoice in your books, it is better to void an invoice - this action will not have any consequences for the balance sheet of your business. Besides, if you have completed the document, it may be useful in the future as a uniform template or source of information about a particular client.
However, if you clicked "Void" by mistake and you want to recover the file to be able to process the payment and maintain the invoice in question to verify the transaction, it is allowed to unvoid an invoice. To do it, go to the Settings, select "Audit Log" and click Filter: you need to narrow down the results since there may be multiple voided invoices. You can sort the files by date, user, or events to find the invoice you are looking for - click "Apply" to execute a search. Once you see the list of invoices that follow your description, choose the one you need to unvoid, click "View", edit the information in the document, and save it as a regular invoice.
How to Write Off an Invoice in Quickbooks?
Unfortunately, large vendors and independent freelancers alike are often forced to deal with bad debts - invoice payments that cannot be collected. If you cannot recover the payment (the most common reason is the inability of the debtor to pay), you need to write off an invoice - it will be marked as paid. There is no requirement to handle these debts manually - here is what you should do to write off an invoice:
- Open “Accountant Tools” and choose “Write off Invoices.”
- Select appropriate filters to find the invoice you want to leave in the past - you can sort the files by date and amount. Click "Find invoices" to see the results of the search.
- When you see the name of the customer whose payment you can no longer wait for, check the boxes for the invoices you have decided to write off and click "Write off."
- Choose the account your company has opened for bad debts once the drop-down menu Accounts appears on your screen and click "Apply."
Related Topics:
