How to Pay a Quickbooks Invoice?
Getting paid for your services or the goods you sell starts with presenting your client with an invoice. Generating, tracking, sending, and auditing these invoices can be tricky - especially for a novice seller. This is where automating accounting software comes in.
Intuit’s QuickBooks accounting software is a primarily online-based service for small businesses, individual contractors, and freelancers that helps automate invoicing, bookkeeping, and sales reports.
QuickBooks Online and QuickBooks Desktop allow you to easily generate and send out invoices for your customers. Sending professional-looking legible invoices will increase the likelihood of you getting paid faster. Managing the entire process online and in one place is a must for busy business owners and entrepreneurs.
How to Invoice in QuickBooks?
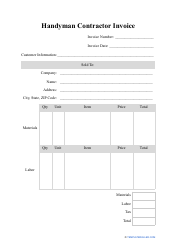
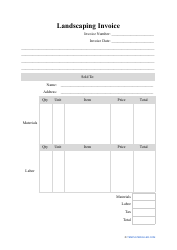
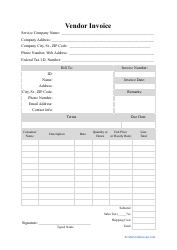
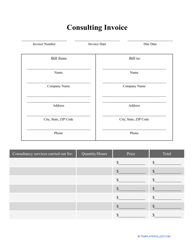
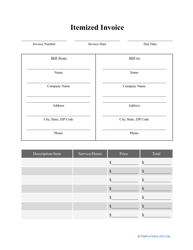
Creating a Quickbooks invoice will depend on the type of product or service you provide to your customers. The software allows you to select and use a pre-made QuickBooks invoice template based on the type of billing you implement. After selecting an option, you will be able to tailor the template to reflect the details of your contract. QuickBooks provides four templates in total:
- Invoice with set item price . Select "Create Invoices" in the "Customers" menu. Select “Customer:Job" and type in the name of a new customer. Enter the purchase order number, notes, and a list of items along with their descriptions, quantities, and rates. After you’re done, select the "Terms" drop-down list, choose the pre-configured option, and click on the “Print” arrow to print.
- Invoice with cost, plus time or materials . Select "Invoice for Time & Expenses" in the "Customers" menu. Click on “Date” and input a date range for which the customer will be billed. Select “Customer:Job" and type in the name of a new customer. Click on “Create Invoice” and select the "Time & Expense" template from the drop-down list. Click on the “Print” arrow to print the completed invoice.
- Fixed-price invoice . Select "Create Invoices" in the "Customers" menu and type in the name of a new customer in “Customer:Job." In the “Class” field, select “Revenue - Job Related." Specify the terms of your contract in "Description," list the amount due in “Rate,” and click “Print” when you’re done.
- Progress invoice . Click on "Create Invoices" in the "Customers" menu and type in the name of a new customer in “Customer:Job." Choose an appropriate estimate for the job. Select an option based on your contract with the customer. Specify the required information concerning the amount, quantity, and rates or, if you entered this information previously, select "Specify Invoice Amounts for Items on Estimate." Click on the “Print” arrow to print the completed invoice.
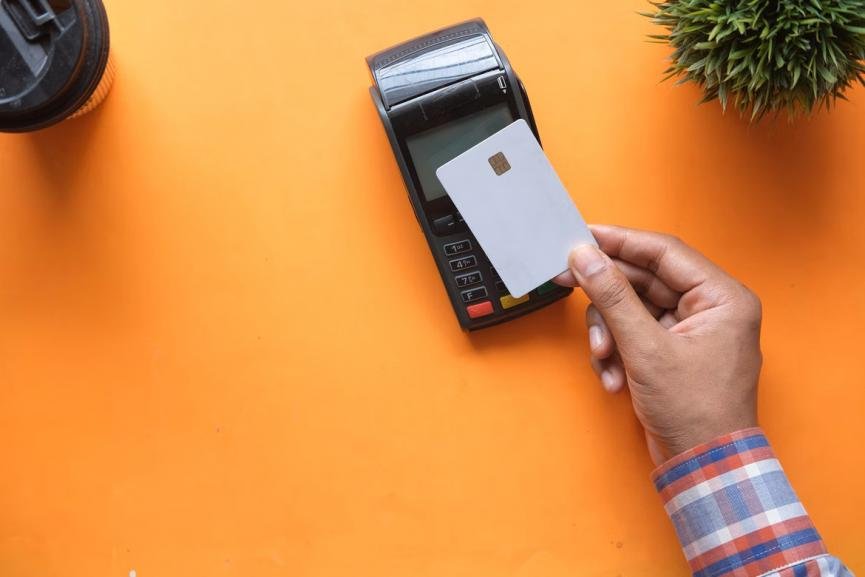
How to Pay QuickBooks Invoice With Credit Card?
A QuickBooks invoice payment can be done from any credit or debit card. Here’s how to do it:
- Click on “Pay Bills” under “Suppliers.”
- Locate the “Payment Account” and select your credit card account or the bank account associated with your debit card.
- Enter the payment date. If paying with a debit card, enter “Debit” in the “Starting Cheque” field.
- Choose the bill you want to pay and click on “Save,” “Save and Print,” or “Save and Close.”
While QuickBooks is convenient and easy to use, it may not be the most affordable option for sending and receiving credit card payments. Research QuickBooks invoice fees before making any payments.
How to Mark an Invoice Paid in QuickBooks?
Let’s imagine a scenario: you created an invoice in QuickBooks, exported it, and sent it to the client via email. The client transferred the payment, but the invoice is still listed as “Unpaid” in the software.
QuickBooks does not register an invoice as “Paid” unless it’s sent through the QuickBooks portal. So how do you mark an invoice as paid if you sent it on your own? Follow these steps to change an invoice's status:
- Open the “Invoices” menu and find the invoice you need.
- Click on the downward arrow in the “Action” column.
- Select “Mark as Paid” from the drop-down menu.
How to Unpay an Invoice in QuickBooks?
QuickBooks allows you to delete the “Receive Payment” transaction associated with an already-paid invoice. Here’s how to unpay any invoice in QuickBooks:
- Open the “Invoices” menu and find the invoice you need.
- Click “View/Edit” to open the transaction.
- Find “Payment Status” and click the 1 payment link.
- Select the “Date” hyperlink, click on “More,” and choose “Delete.”
- Click “Yes” to mark the invoice as unpaid.
Related Topics: