How to Invoice in Quickbooks: Free Quickbooks Invoice Template

How to Invoice in Quickbooks?
If you own a small business and are looking for a simple and affordable way to manage your revenue and expenses and keep track of all the documents you send and receive, you will benefit from using Quickbooks. This software will allow you to issue invoices for your customers, pay bills and prepare tax documentation, and generate financial reports you will analyze to make sure your company is doing well financially. Moreover, sending invoices to your customers is free, there is no Quickbooks Invoice fee, and you can email the outstanding invoice to the customer while keeping a copy for your own records.
What Does a Quickbooks Invoice Look Like?
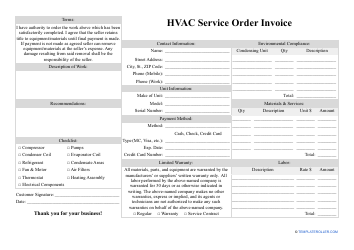
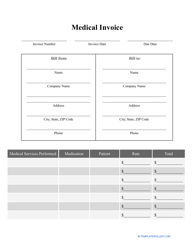
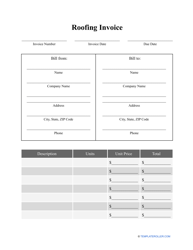
Traditionally, a Quickbooks Invoice contains the following details:
- Logo of the company - you can insert it during the process of customization.
- Information about your business - at a minimum, you should include the name of the company, its address, telephone number, email address, and the link to a website or social media account.
- Name of the client and their address.
- Shipping details - it is possible the customer has requested to deliver the products or render the services at a different address than the one they used for communication.
- Description of the invoice - the number you use for your internal records, the date the invoice was created, the time you give to a client to pay for the goods or services, and the payment deadline.
- List of services or goods - add their brief description, quantity, rate, and the total amount.
- Message you send to the customer . You can add a similar note to every invoice or share any remarks or comments that will be helpful.
- Total amount of money the client owes you as well as separate figures to show the sales tax and the price of shipping.
How to Create a Custom Invoice in Quickbooks?
It is very easy to create a Quickbooks Invoice to confirm the sales transaction if most of the time you are working with customers that do not pay right away when receiving the goods and services or pay in installments. Follow these steps to draft a Quickbooks Custom Invoice:
- Click Create Invoices and then choose "Customize the data layout."
- Once you see the Additional Customization, you can mark the fields you want to see in the header, columns, and footer of the invoice.
- Go to Basic Customization to indicate the details of your business.
- Click Manage Templates to enter a name for the Custom Quickbooks Invoice.
- If you want to modify the layout of the invoice manually, you can do it with the help of a Layout Designer. The fields can be moved according to your preferences. It is also possible to change how the boxes look like.
- Click Add and choose Image from the drop-down menu to add a logo or some other picture to the invoice.
- Once you are done with customization, click OK. You will be able to choose this template from the drop-down menu every time you click Create Invoices.
What Is the Difference Between Voiding and Deleting an Invoice in Quickbooks?
There are two ways to deal with the transaction that was created by mistake - you either void or delete it. If you believe it is better to fully erase the invoice from your records, you can delete it; however, voiding an invoice will not affect any Quickbooks Invoice payment connected to it, so it may be the safer option especially if you filled out an invoice and you may want to use it later for reference.
If the invoice was accurate and you are dealing with a client who makes partial payments over time with a Quickbooks Progress Invoice or orders the same goods and services and you send them a Quickbooks Recurring Invoice, you can let them pay a Quickbooks Invoice online - the client needs to open the email they received, choose the Review and pay option, confirm the amount of payment is correct, include their credit card information, and click Pay.
FAQ:
- How to make a deposit in Quickbooks without an invoice?
When you receive a payment you want to deposit to a bank account right away, you can do it without an invoice. Click the + on top of the menu, select Bank Deposit, choose the bank account and currency you need, click on "Add funds to this deposit", enter the details about the deposit you are asked for, and save the results.
- What happens when you void an invoice in Quickbooks?
It is possible to void a transaction you accidentally created - your account will not be affected in any way, but just in case, you will have a record of a void invoice. Note that the Quickbooks Invoice payment you have included in the document will not be voided and you can apply it to a different invoice that is going to be correct - no Quickbooks Invoice fees will be charged as well.
- How to print a paid invoice in Quickbooks?
Open the Customers menu and choose a customer. Check the list of transactions to find an invoice you need and click Actions - first, see if it is marked as paid, if not - click the Mark as paid option. The last thing that remains is to select Print and get a receipt in question as proof you received a payment from the customer.
Related Topics: